
How to Use a Gua Sha Tool: A Beginner's Guide for Men
October 6, 2026
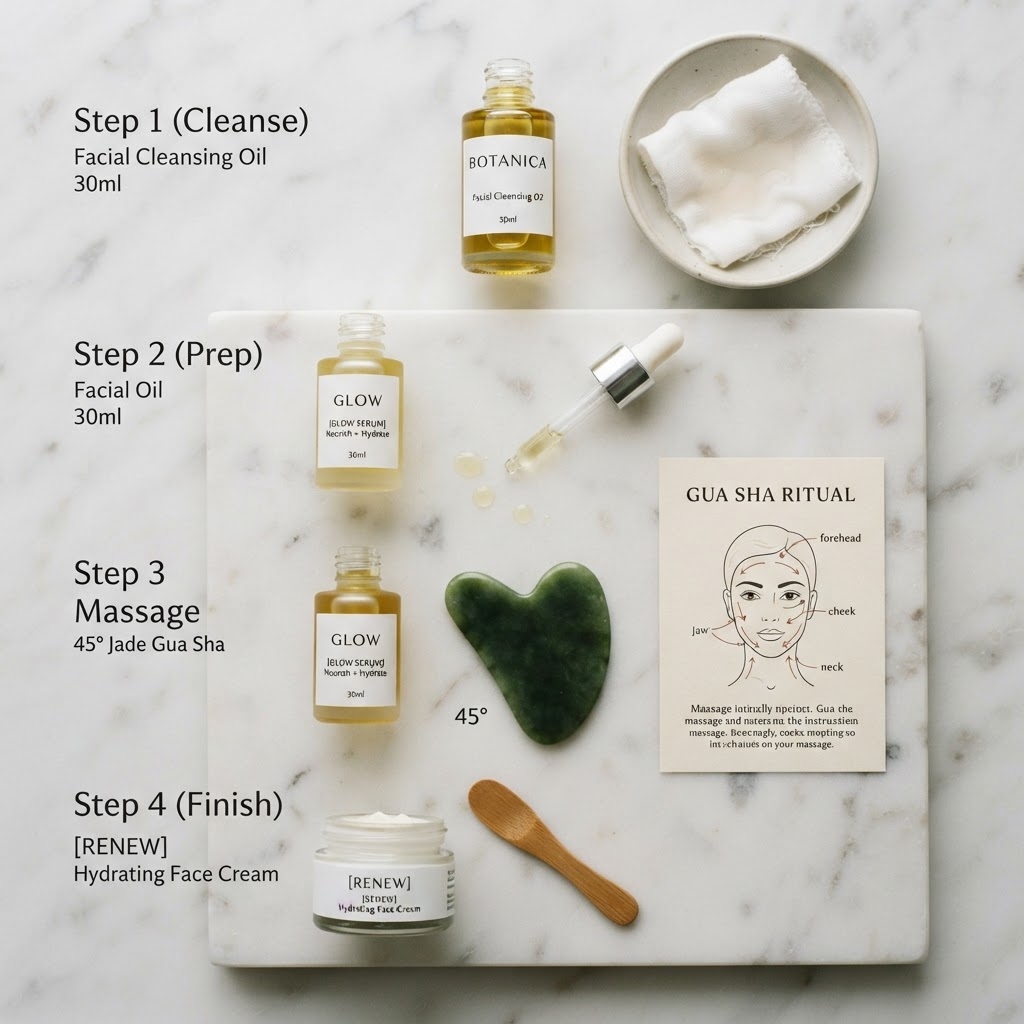
Start Here: What Gua Sha Actually Does
Gua sha is a massage technique that uses a smooth-edged tool to apply pressure along the skin in short, repeated strokes. The result: improved circulation, reduced puffiness, and over time, more defined facial contours. It sounds complicated. It is not.
The mechanism is lymphatic drainage — the tool stimulates the fluid network just under the skin, moving accumulated fluid toward the lymph nodes in your neck where it gets processed and cleared. More fluid moved means less puffiness, better skin tone, and over weeks of consistent use, visible changes in facial definition.
If you spent 90 seconds scrolling before you landed here, you can learn to do this properly.
What You Will Need
- A gua sha tool — the Grooovie grip-grooved design is built to stay in your hand, not slide out of it mid-stroke. Most tools have a smooth polished back face that becomes useless once oil is involved. The grip grooves solve this.
- Facial oil or serum — the tool needs slip to glide without dragging. Three to four drops of any facial oil is enough. Jojoba, squalane, rosehip, or a slip-forward serum all work. Do not skip this step — dry skin and gua sha do not mix.
- A clean face — post-shower is ideal. Warm skin is more receptive and the pores are open. Avoid using gua sha on sunburned, broken-out, or irritated skin.
How to Hold the Tool
The flat face of the tool goes against your skin, held at roughly 15 to 30 degrees — nearly flat to the skin, not upright. When the tool is too upright, the edge digs in instead of gliding. When it is too flat, you lose contact with the skin.
Your fingers wrap around the back face. If your tool has grip grooves, your fingertips sit in the grooves. Keep your grip relaxed but firm — you should be able to maintain consistent pressure through a full stroke without readjusting.
The Basic Technique: Step by Step
Work from the center of the face outward, and from the chin upward. Always end by drawing strokes down the neck — this closes the lymphatic drainage cycle.
- Neck first. Three to four slow strokes down each side of the neck toward the collarbone. This opens the drainage path before you work the face. It feels counterintuitive but it is the most important step — without it, you are moving fluid with nowhere to go.
- Jaw and chin. Place the tool flat against the center of the chin and glide outward to the ear. Repeat five to six times each side. Medium pressure — you should feel the tool moving along the jawbone.
- Cheeks. Start at the nose, glide outward across the cheekbone toward the hairline. Five to six strokes each side.
- Under eyes. Very light pressure here. Start at the inner corner, glide outward to the temple. Three to four strokes. This is where puffiness reduction shows fastest — often after a single session.
- Forehead. Center to temple, working upward in sections from the brow line. Five to six strokes each side.
- Neck close. Finish with three to four strokes down each side of the neck again. This flushes everything you moved in the face toward the lymph nodes in the collarbone area.
How Much Pressure
Light to medium. The skin should move gently with the tool — a small ripple ahead of the edge. If the skin is stretching or you see the tool leaving a red track, you are pressing too hard. If you feel nothing at all, press slightly firmer.
The lymphatic vessels gua sha targets are just under the skin surface, not deep in muscle. You do not need force to reach them. The jaw area is the one exception — if you are working on jaw tension specifically, you can use more pressure there because you are targeting the masseter muscle. Everywhere else: lighter than you think.
How Often
Three to four times a week is the standard recommendation. Daily is fine if your skin tolerates it and you enjoy it. Once a week shows some effect but progress is slow. The results are cumulative — consistency over weeks matters more than any single session.
The sweet spot for most people is a four-to-five minute routine after their morning shower, four or five days a week. At that frequency, the puffiness reduction is consistent and the longer-term definition results accumulate reliably.
Common Mistakes
- Too much pressure — if it hurts or leaves marks, press lighter. This is the most common beginner error.
- Skipping the oil — dry stroking irritates skin and produces no lymphatic benefit. Always use oil.
- Going the wrong direction — always work outward from the center of the face and downward toward the neck. Inward or upward strokes work against the lymphatic drainage direction.
- Inconsistency — one session does not do much. The results are cumulative. Three weeks of four-times-a-week beats ten sessions in the first three days followed by nothing.
- Tool slip — if the tool slips in your hand once oil is involved, that is a design problem with the tool, not a technique problem. The Grooovie grip grooves solve this.
What to Expect
After one session: Reduced puffiness, especially under the eyes. Skin may look slightly flushed for 15 to 30 minutes — normal circulation response.
After one to two weeks of regular use: Improved skin tone, more even complexion, consistent jaw and forehead tension reduction.
After four to eight weeks: Jawline definition becomes visible and consistent. This is the result that surprises most people — they started for the puffiness and stayed for the definition.
Ready to Start?
Pick up the Grooovie gua sha tool and run through this routine three times this week. The skeptics who actually try it consistently are the ones who keep doing it.