
How to use gua sha for beginners (and why most people do it wrong)
October 6, 2026
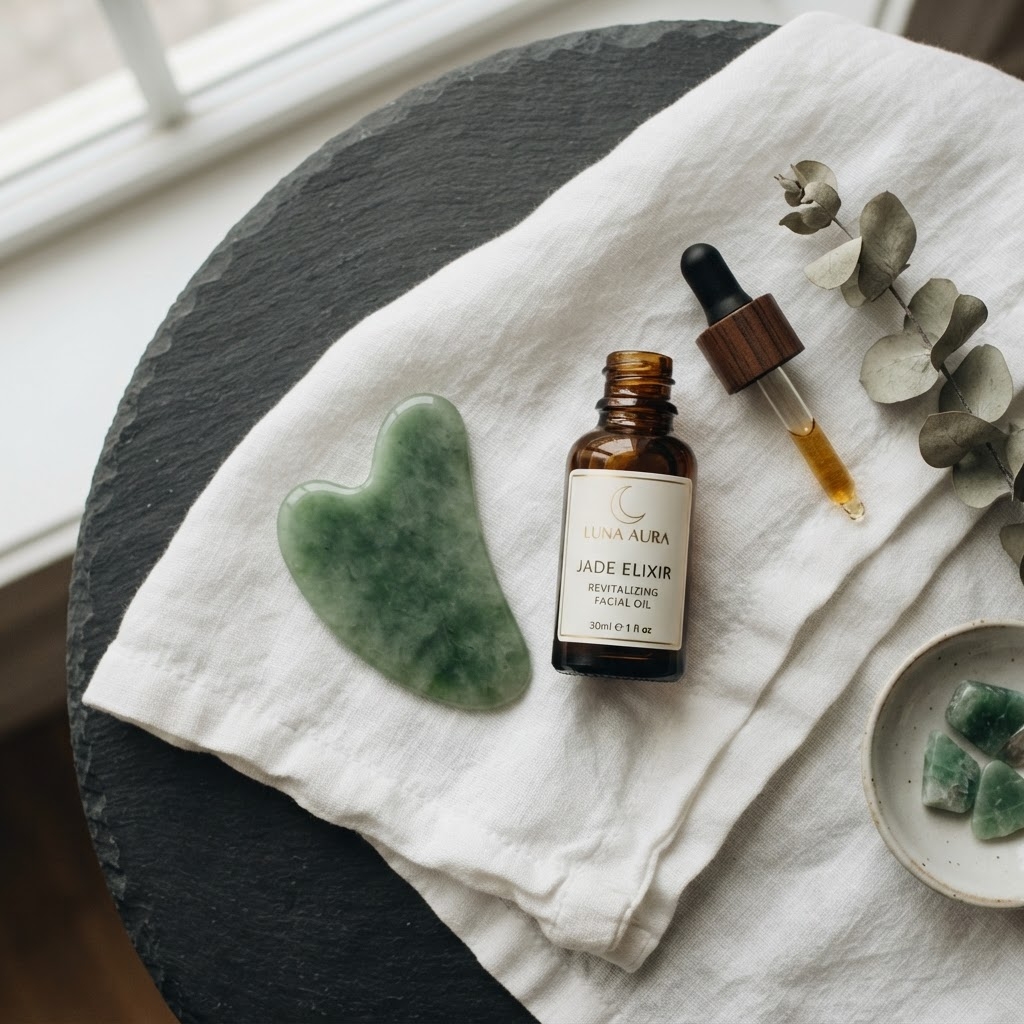
Gua sha looks simple. You hold a smooth tool, you glide it across your face, and your skin looks a little brighter. But most people get two things wrong on day one, and both of them cost you results.
The first mistake is pressure. Beginners press hard because harder feels like it is working. It is not. Gua sha moves fluid just under the skin. Light, steady pressure does that job. Heavy pressure only irritates and can leave temporary redness or bruising.
The second mistake is grip. You need slip on your skin, so you use oil. Then the tool starts sliding in your fingers instead of on your face. You tighten up, your angle changes, and the stroke stops working. The Grooovie tool was built with grip grooves specifically to fix this problem — the grooves keep your fingers anchored even when your hands are oiled.
What You Need Before You Start
- A gua sha tool — the Grooovie steel tool or the matte black version; both have the same grip grooves on the back face
- Facial oil — any facial oil works. Jojoba, squalane, rosehip, or a serum with enough slip. The tool needs to glide, not drag. Three to four drops is plenty.
- A clean face — post-shower is ideal. Warm skin is more receptive and the pores are open. Never use gua sha on dry skin.
The Basic Technique
Work from the center of the face outward, and from the chin upward. Always end by bringing the strokes down the neck toward the collarbone — this opens the lymphatic drainage path that the whole routine is working toward.
Hold the tool at about a 15 to 30 degree angle to the skin — nearly flat, not upright. If you hold it too upright, the edge digs in instead of gliding. Flatter is almost always better when you are starting out.
- Neck first. Three to four slow strokes down each side of the neck toward the collarbone. This is counterintuitive — you are working the neck before the face — but it clears the drainage path so fluid actually has somewhere to go when you work the face above.
- Jaw and chin. Place the flat face of the tool at the center of the chin and glide outward toward the ear. Five to six strokes each side. Medium pressure. You should feel the tool moving along the jawbone.
- Cheeks. Start at the nose, glide along the cheekbone toward the hairline. Five strokes each side. Light to medium pressure.
- Under the eyes. This is the most delicate area. Very light pressure — barely any. Start at the inner corner and glide outward toward the temple. Three to four passes each side. This is where puffiness reduction shows fastest, often after a single session.
- Forehead. Start at the center and glide outward toward the temple, working in sections from the brow line upward. Five strokes each side. Medium pressure. Most people carry more tension here than they realize.
- Return to the neck. Finish with three to four strokes down the neck again to flush everything toward the collarbone lymph nodes.
Pressure: The Most Common Mistake
Light to medium. The skin should move with the tool — a gentle ripple ahead of the edge. If the skin is stretching, you are pressing too hard. If you see prolonged redness or petechiae (tiny red dots), you are pressing too hard.
Gua sha is not a deep-tissue massage. The lymphatic vessels it is working on sit just under the skin, not deep in the muscle. You do not need force to reach them.
The exception is the jaw and masseter area — if you are specifically working on jaw tension or clenching, you can use slightly more pressure there because you are working a muscle, not just lymph. Still not hard. Think firm rather than forceful.
How Often
Three to four times a week is the standard recommendation for most people. Daily is fine if your skin tolerates it. Every day is better than three times a week for seeing results faster — the effects are cumulative and they compound. Once a week will show something but progress is slow.
The most important variable is consistency, not frequency. Three times a week for two months beats daily for two weeks and then nothing.
Oil: What Works and What Does Not
Any facial oil with enough slip works. Jojoba and squalane are the most commonly recommended — both are lightweight, non-comedogenic, and do not go rancid quickly. Rosehip oil works well and adds vitamin A benefits. A high-slip serum also works if you prefer not to add oil to your routine.
What does not work: water-based moisturizer (dries too fast, creates drag), thick balms or occlusives (too sticky, tool does not glide), body lotion (not formulated for facial skin).
Do not use more oil than you need. Three to four drops across the face and neck is enough. More oil does not improve the glide and it just means more to clean up afterward.
What to Expect
After one session: Reduced puffiness, especially under the eyes. Some people see it immediately; most see it the next morning. Skin may look slightly flushed for 15 to 30 minutes after — this is normal circulation response.
After one week: Improved skin tone and a more even complexion. Jaw and forehead tension begins to reduce with regular use.
After four to six weeks: Jawline definition and facial contour improvements become visible and consistent. These are the results that make people stick with gua sha long term.
When to Skip It
Do not use gua sha on sunburned skin, active breakouts (it can spread bacteria and worsen inflammation), open cuts or wounds, or skin that is actively irritated or rashy. After cosmetic injectables, wait at least two weeks before using gua sha in the treated area — check with your provider.
Start with the Grooovie gua sha tool. The grip grooves on the back face solve the slip problem that stops most beginners — so the technique you practice actually works.